How to scan documents to PDF with your phone
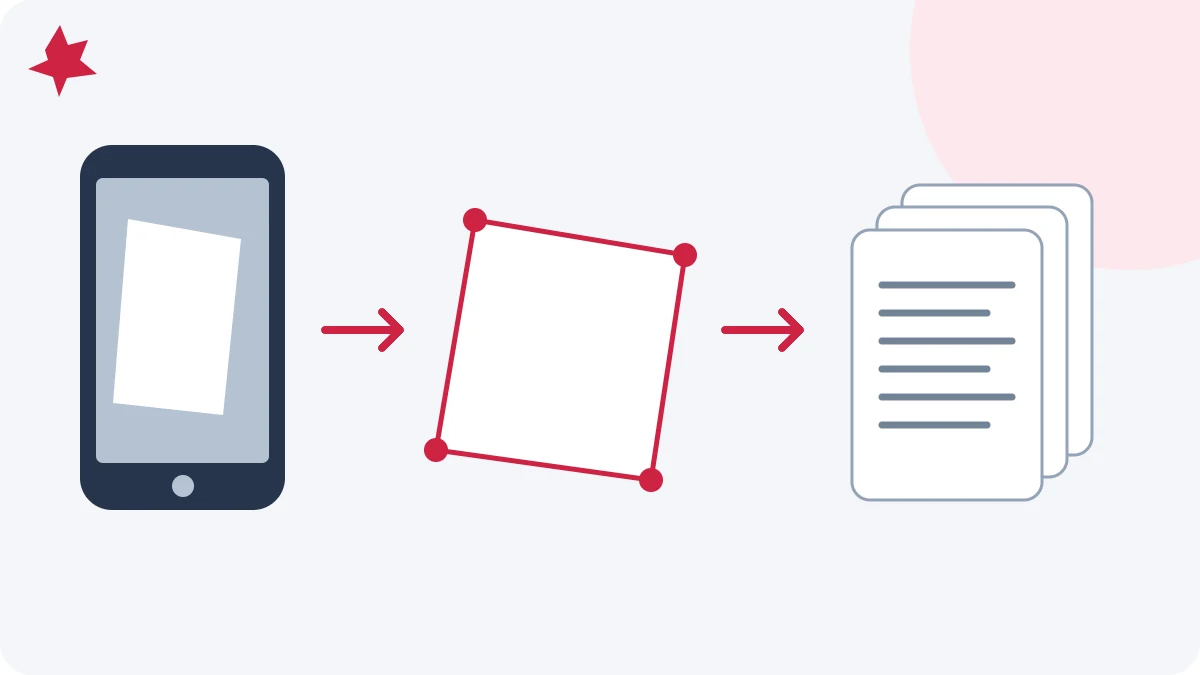
You can scan a paper document with your phone by taking a clear photograph, cropping to the page corners, correcting the perspective and saving the pages as one PDF. The most useful improvement usually happens before you press the shutter: place the paper flat in even light and keep the entire page in focus.
Set up the photograph
Place the sheet on a plain surface that contrasts with its edges. Move away from direct glare and avoid casting your own shadow across the text. Hold the phone roughly parallel to the page. Leave a little space around all four corners so you have room to adjust the crop.
Tap to focus if your camera offers it, then pause briefly before taking the photo. Zoom into the preview and look at the smallest text. If letters already look smeared, retake the photo now. Perspective correction can straighten a trapezoid, but it cannot restore missing detail.
Scan with PDFMaple
- Open Scan to PDF on your phone.
- Choose Take a photo, or use Choose photos for pictures already on your device. Camera behavior depends on the browser and phone.
- Review the suggested edges. Drag each corner to the corresponding corner of the paper; use the full-photo option if the suggestion is wrong.
- Choose a color mode and save the page. Perspective correction makes the selected four-sided area rectangular.
- Add the next page, arrange the saved pages and select Create PDF.
- Download the PDF and open it once before sending it.
JPEG and PNG are supported. If a selected iPhone photo is HEIC, export it as JPEG first. A rejected format should not be mistaken for a damaged photograph.
Arrange a multipage document
Photograph pages in reading order, especially when scanning both sides of paper. Check that no back side is missing. Use the move controls to correct the sequence and remove accidental duplicates. For a receipt bundle, keeping the pages in the same order as the expense list makes later checking easier.
PDFMaple supports up to 20 pages per scan. Large photos are resized for browser processing. Add fewer photos at once on a phone with limited memory, and close unused tabs if image editing becomes slow. Keep the original photographs until you have checked the PDF.
Choose color deliberately
Original color is useful for colored stamps, highlights and annotations. Grayscale removes color distractions. Black and white can make simple printed text clearer, but may remove pale marks or turn a shadow into a dark patch. Compare the saved-page preview with the original before choosing the strongest filter.
If the final file is too large for its destination, try Compress PDF and check the small text again. Avoid repeatedly compressing the same receipt until its characters become difficult to read.
Add search only when you need it
Crop, perspective correction, ordering and PDF creation run in your browser. Choosing Make this PDF searchable with OCR sends the finished PDF to PDFMaple's server for recognition; it is a separate step. Select the printed language and verify important numbers afterward.
For better recognition, read how to improve OCR results from phone scans. If you only need to store or send a readable picture of the document, you can download the scanned PDF without using OCR.